DIY Outdoor Seating Guide: If you are tired of looking at boring or expensive outdoor furniture online and you want something nice for your balcony, terrace, or garden, then this guide is just for you. I recently made my own outdoor seating area, and trust me – it was fun, not too hard, and cost way less than buying ready-made stuff. Today, I am sharing a simple step-by-step way to build stylish and comfortable outdoor seating that anyone can try – even if you are a complete beginner like I was!
Why go DIY? First, you save a lot of money. Second, you get exactly what fits your space and style. And third, there is something special about sitting on something you built with your own hands. It feels personal and satisfying.
What You Will Need (Keep It Simple)
You do not need fancy tools or a big workshop. Here is a basic list that works for most easy projects:
- Wood: 2×4 lumber (or similar size beams) – strong and cheap. Get pressure-treated wood so it lasts outside in the rain.
- Screws: Outdoor-rated deck screws (2-3 inches long).
- Tools: Measuring tape, pencil, hand saw or circular saw (if you have one), drill/driver, sandpaper.
- Optional but nice: Wood stain or outdoor paint, cushions or pillows for comfort.
- Extra: Wood glue for stronger joints.
Total cost for 2-3 chairs and a small bench? Around ₹5,000-8,000 (depending on wood prices in your area).
Easy Project 1: Simple 2×4 Outdoor Chairs (Beginner Favorite)
This is my go-to design because it looks modern yet classic, and you can build one in just a few hours.
Step 1: Cut the wood
- Back legs/support: 2 pieces – 36 inches long
- Front legs: 2 pieces – 20 inches long
- Seat slats: 5-6 pieces – 18-20 inches long
- Back slats: 4-5 pieces – 18 inches long
- Cross supports: A few short pieces for strength
(You can adjust sizes to make it bigger or smaller.)
Step 2: Make the frame
- Attach front and back legs to make an “A” shape (lean the back a little for comfort – about a 15-20 degree angle).
- Connect them with horizontal pieces at the bottom and middle for stability.
Step 3: Add seat and back
- Screw the seat slats across the frame – leave small gaps for water to drain.
- Do the same for the back slats.
Step 4: Sand and finish
- Smooth all rough edges with sandpaper.
- Apply outdoor stain or paint – I love the natural wood look with a clear sealant. Let it dry fully.
Add some colorful cushions, and wow – you have a comfy, stylish chair that looks like it came from a fancy store!
Easy Project 2: Quick Outdoor Bench (Perfect for Extra Guests)
If you want more seating, build a simple bench. It is even easier than chairs.
- Use longer 2x4s for legs and frame.
- Make two side supports (like small tables).
- Connect with long horizontal pieces.
- Add 4-5 slats on top for the seat.
This bench can seat 2-3 people easily. Place it against a wall or under a tree – instant cozy corner!
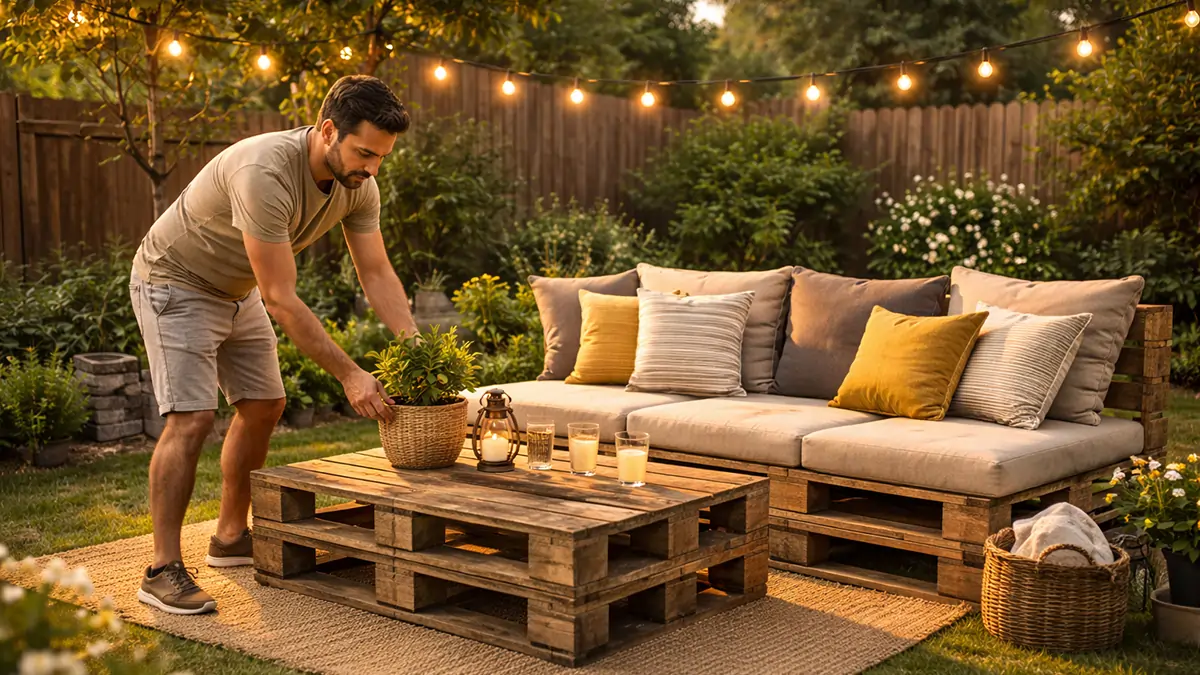
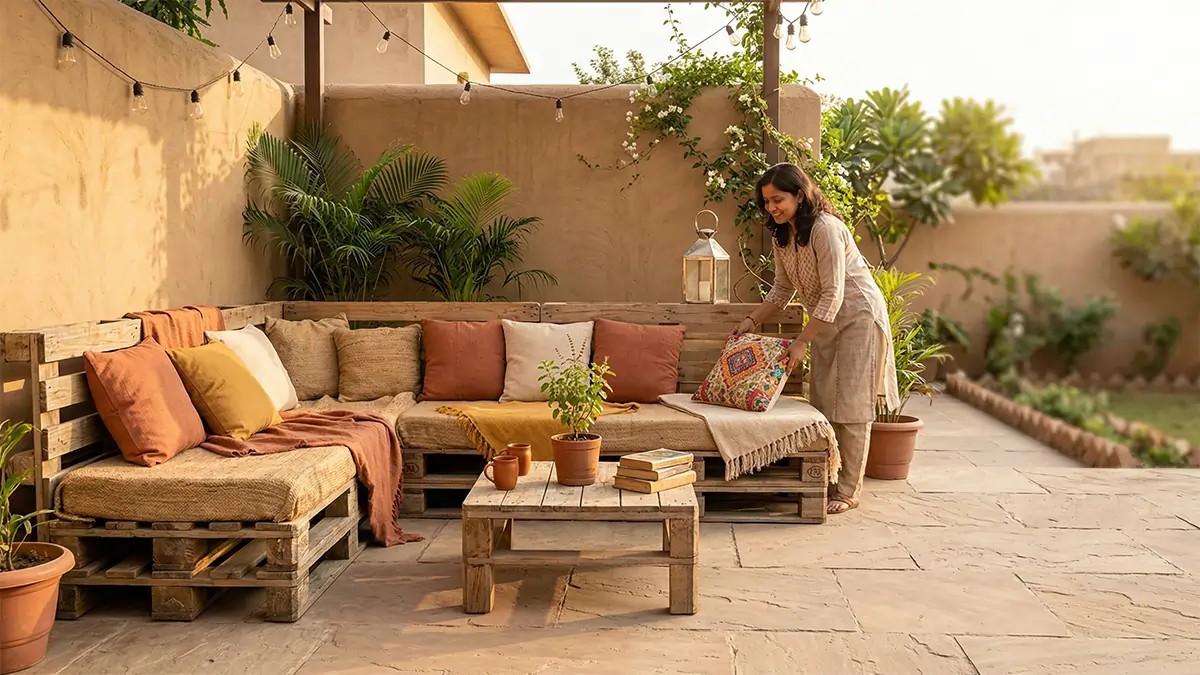
Make It Stylish – Small Touches That Matter
- Paint it in fun colors: Soft grey, white, or even bold teal for a pop.
- Add throw pillows or weatherproof cushions – they make it look inviting.
- Put a small side table (just a wooden box or crate) next to it for coffee or plants.
- String lights above or around – turns the evening magical.
- Plants in pots nearby – green makes everything feel fresh.
Tips to Make It Last Longer
- Always use outdoor screws and wood that resists water.
- Put a coat of sealant every year.
- Keep it covered during the heavy monsoon if possible.
- Start small – make one chair first, then add more when you feel confident.
Conclusion
Creating your own outdoor seating does not have to be hard or costly. With basic wood, simple tools, and a little weekend time, you can build something beautiful, useful, and totally yours. Start small, enjoy the process, and soon your outdoor space will become your favorite place at home.
I am Hazel, a passionate author covering Business, Home Decor, Trending Topics, Jobs, Health, Education, and Technology. I am dedicated to helping readers stay informed and prepared in a rapidly evolving world. Through clear insights into market trends, learning opportunities, and emerging health and technology innovations, I strive to provide practical knowledge that promotes a smarter, healthier, and more productive lifestyle.